
Random portrait sketch by Kyle. My second child is now in second year college taking up multimedia arts.

Random portrait sketch by Kyle. My second child is now in second year college taking up multimedia arts.

Taken four or five years ago when my daughter’s college friends spent the night at home to bond.
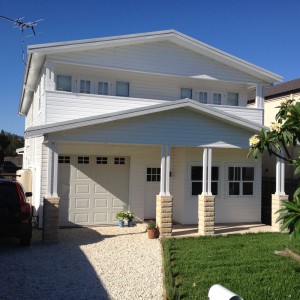
There are many different ways of covering your home. You can choose simply to repaint it, although in practice this is generally more complicated than it sounds. Alternatively, you can invest in some high-quality vinyl cladding that can quickly transform the look and feel of your home.
However, you can also opt for a more traditional approach with board and batten siding. When installing this you can get professional help, or you can complete the work yourself by following these simple steps:
Choose Your Boards
The most common boards are 1×10 with 1×2 or 1×3 battens. However, you can also choose 1×8 boards or 1×12 boards and 1×4 battens.
It’s also important to consider the finish of your boards if you opt for rough then your boards will give your home a rustic look. Alternatively, you can choose smooth, planed, boards and pint them afterward, creating a very modern finish.
Don’t forget if you’re painting the boards after to check with your local planning office, you don’t want to fall foul of local rules and have to remove your boards.
Part of choosing the boards also means selecting the wood you’d like to use. Hardwood is more expensive and will last longer. But, it can be more difficult to work with.
Cedar is generally a good option but you should check to ensure there are no open knots.
It’s probably going to take you a day, with one assistant, to cover 800 square feet of wall. The exact time will depend on your work ethic and the amount of space you have to cover.
Now Put Your Board and batten siding up
Just follow these steps:
That’s it! Step back and admire your work, but only when you’ve finished the whole house.